Maravilla Boxy Pouch Sewing Tutorial
This blog is also available in Spanish here. For English, continue reading below.
Este blog también está disponible en español aquí. Para la versión en inglés, sigue leyendo a continuación.

Materials Needed
- Front panel: 40 – 2 ½” squares
- Lining fabric: Rectangle of 13″ wide x 17″ long
- Fusible interfacing or batting: Rectangle 13″ wide x 17″ long
- Zipper: 14” or longer if using zipper tape one zipper pull
- Binding strips: Cut 1 strip of 2” W x 20” L from lining fabric
- Zipper tabs: Cut 2 rectangles of 2″ W x 3″ L from lining fabric
- Basic sewing tools (sewing machine, thread, pins, scissors, etc.)
Note: the pouch can be made bigger by using bigger squares, please keep in mind that lining fabrics, fusible, zipper, binding and zipper tabs will need to be bigger.
Important: The stitch length for construction should be between 2.0mm and 2.5mm, and the stitch length for topstitching can be between 3.0mm and 3.5mm.
Step 1: Prepare Patchwork Front Panel, Lining, Binding Strips & Zipper Tabs
Create the front panel with the 2 ½” squares using the following grid:

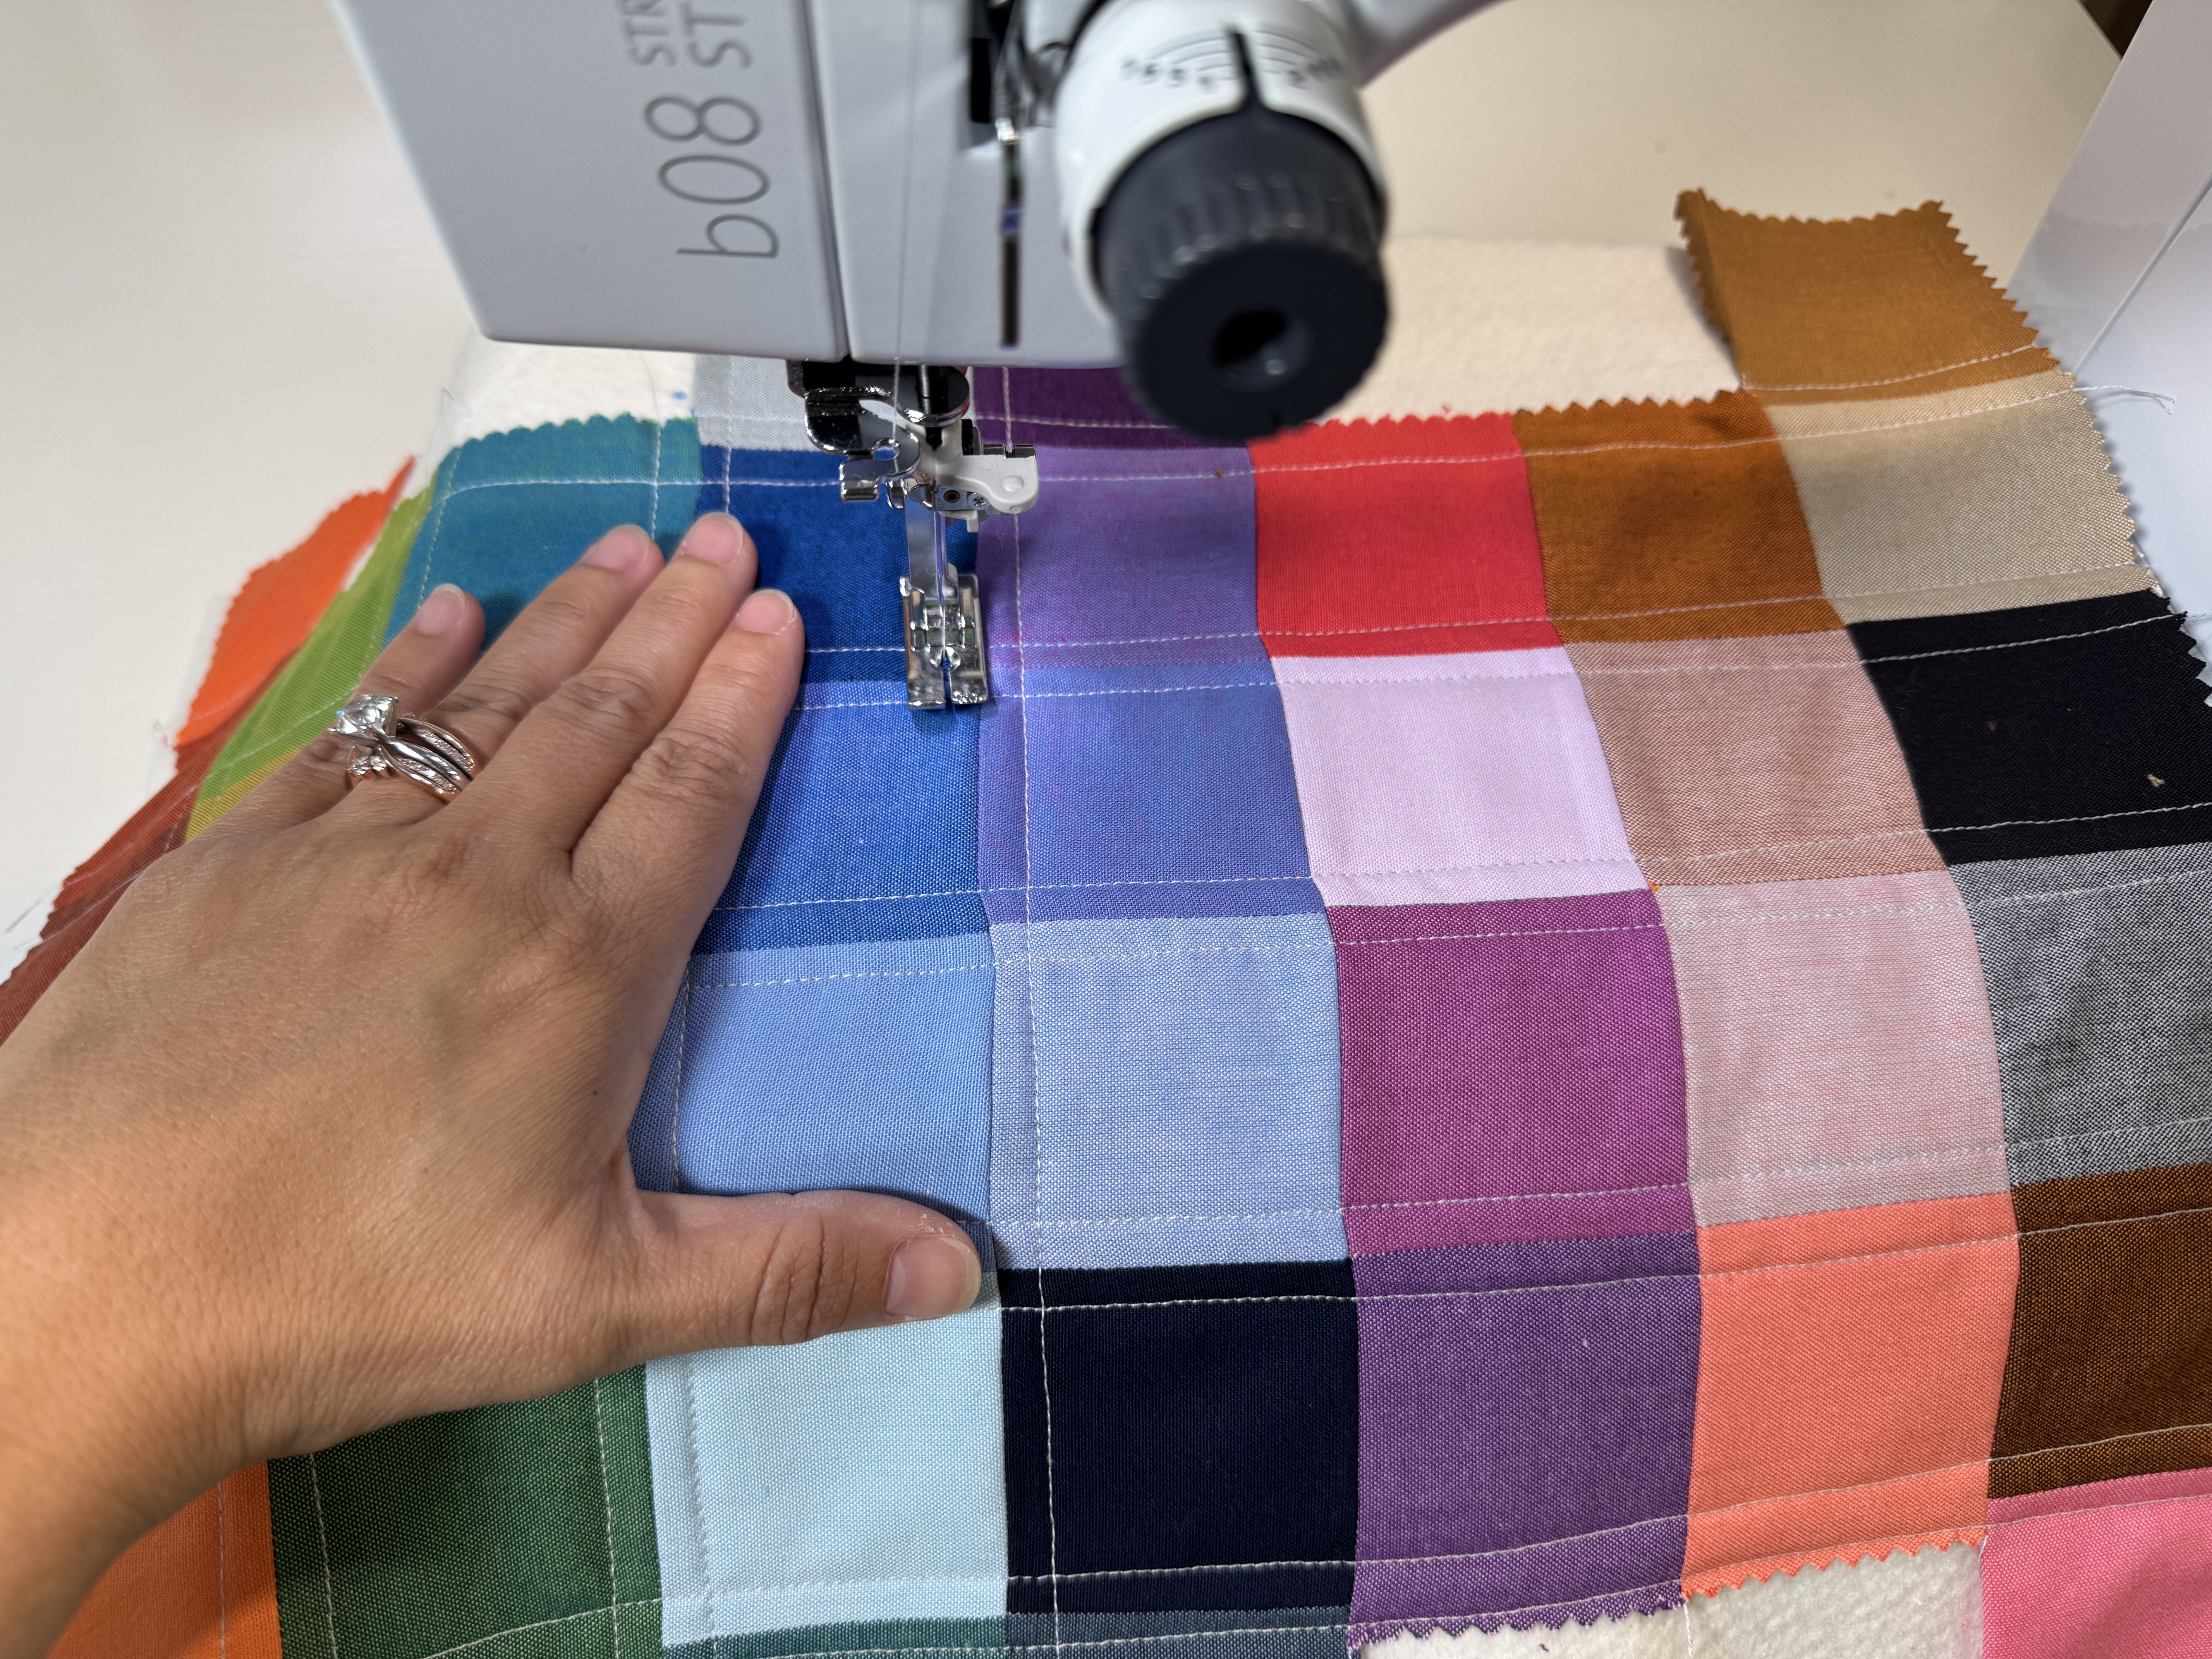
Sew all of the squares together with a ¼” seam allowance to make the front panel.


Cut your lining fabric to match the size of your patchwork panel. Based on the grid of 2.5″ squares, the patchwork front panel should be approximately 12 1/2″ wide x 16 1/2″ long.

Then add fusible interfacing/ or batting to the wrong side of the patchwork front panel. Fuse it according to the manufacturer’s instructions.

Quilt front panel if desired.
Make the zipper tabs: take 2 of the rectangles of size 2″ W x 3″ L from the lining and fold the long edges of each piece toward the center, wrong sides together, to meet in the middle. Then fold the tab in half lengthwise, so you have a strip that measures 1/2″ by 3″. Press the folded tab to keep it in shape and topstitch along the folded edges to secure it. Now, you have two neat tabs that measure 1/2″ by 3″.


Prepare the binding: take 1 strip of size 2″ W x 20″ L from the lining and fold the fabric strip in half lengthwise, with the wrong sides together, so the long edges meet. Press the fold with an iron to create a crease in the center. Open the strip back up, then fold each long edge toward the center crease you just made, so the raw edges meet in the middle. Press again. Fold the strip in half along the original center crease, so the folded edges you just created are now tucked inside. This will give you a strip that is ½” wide with no raw edges exposed. Set aside.


Step 2: Attach the Zipper
Lay the zipper face down on the right side of the patchwork panel along the top edge.

Place the lining fabric on top of the zipper, right sides together, aligning the top edge of the lining with the zipper and the patchwork. Pin and sew along the edge using a zipper foot, stitching close to the zipper teeth.


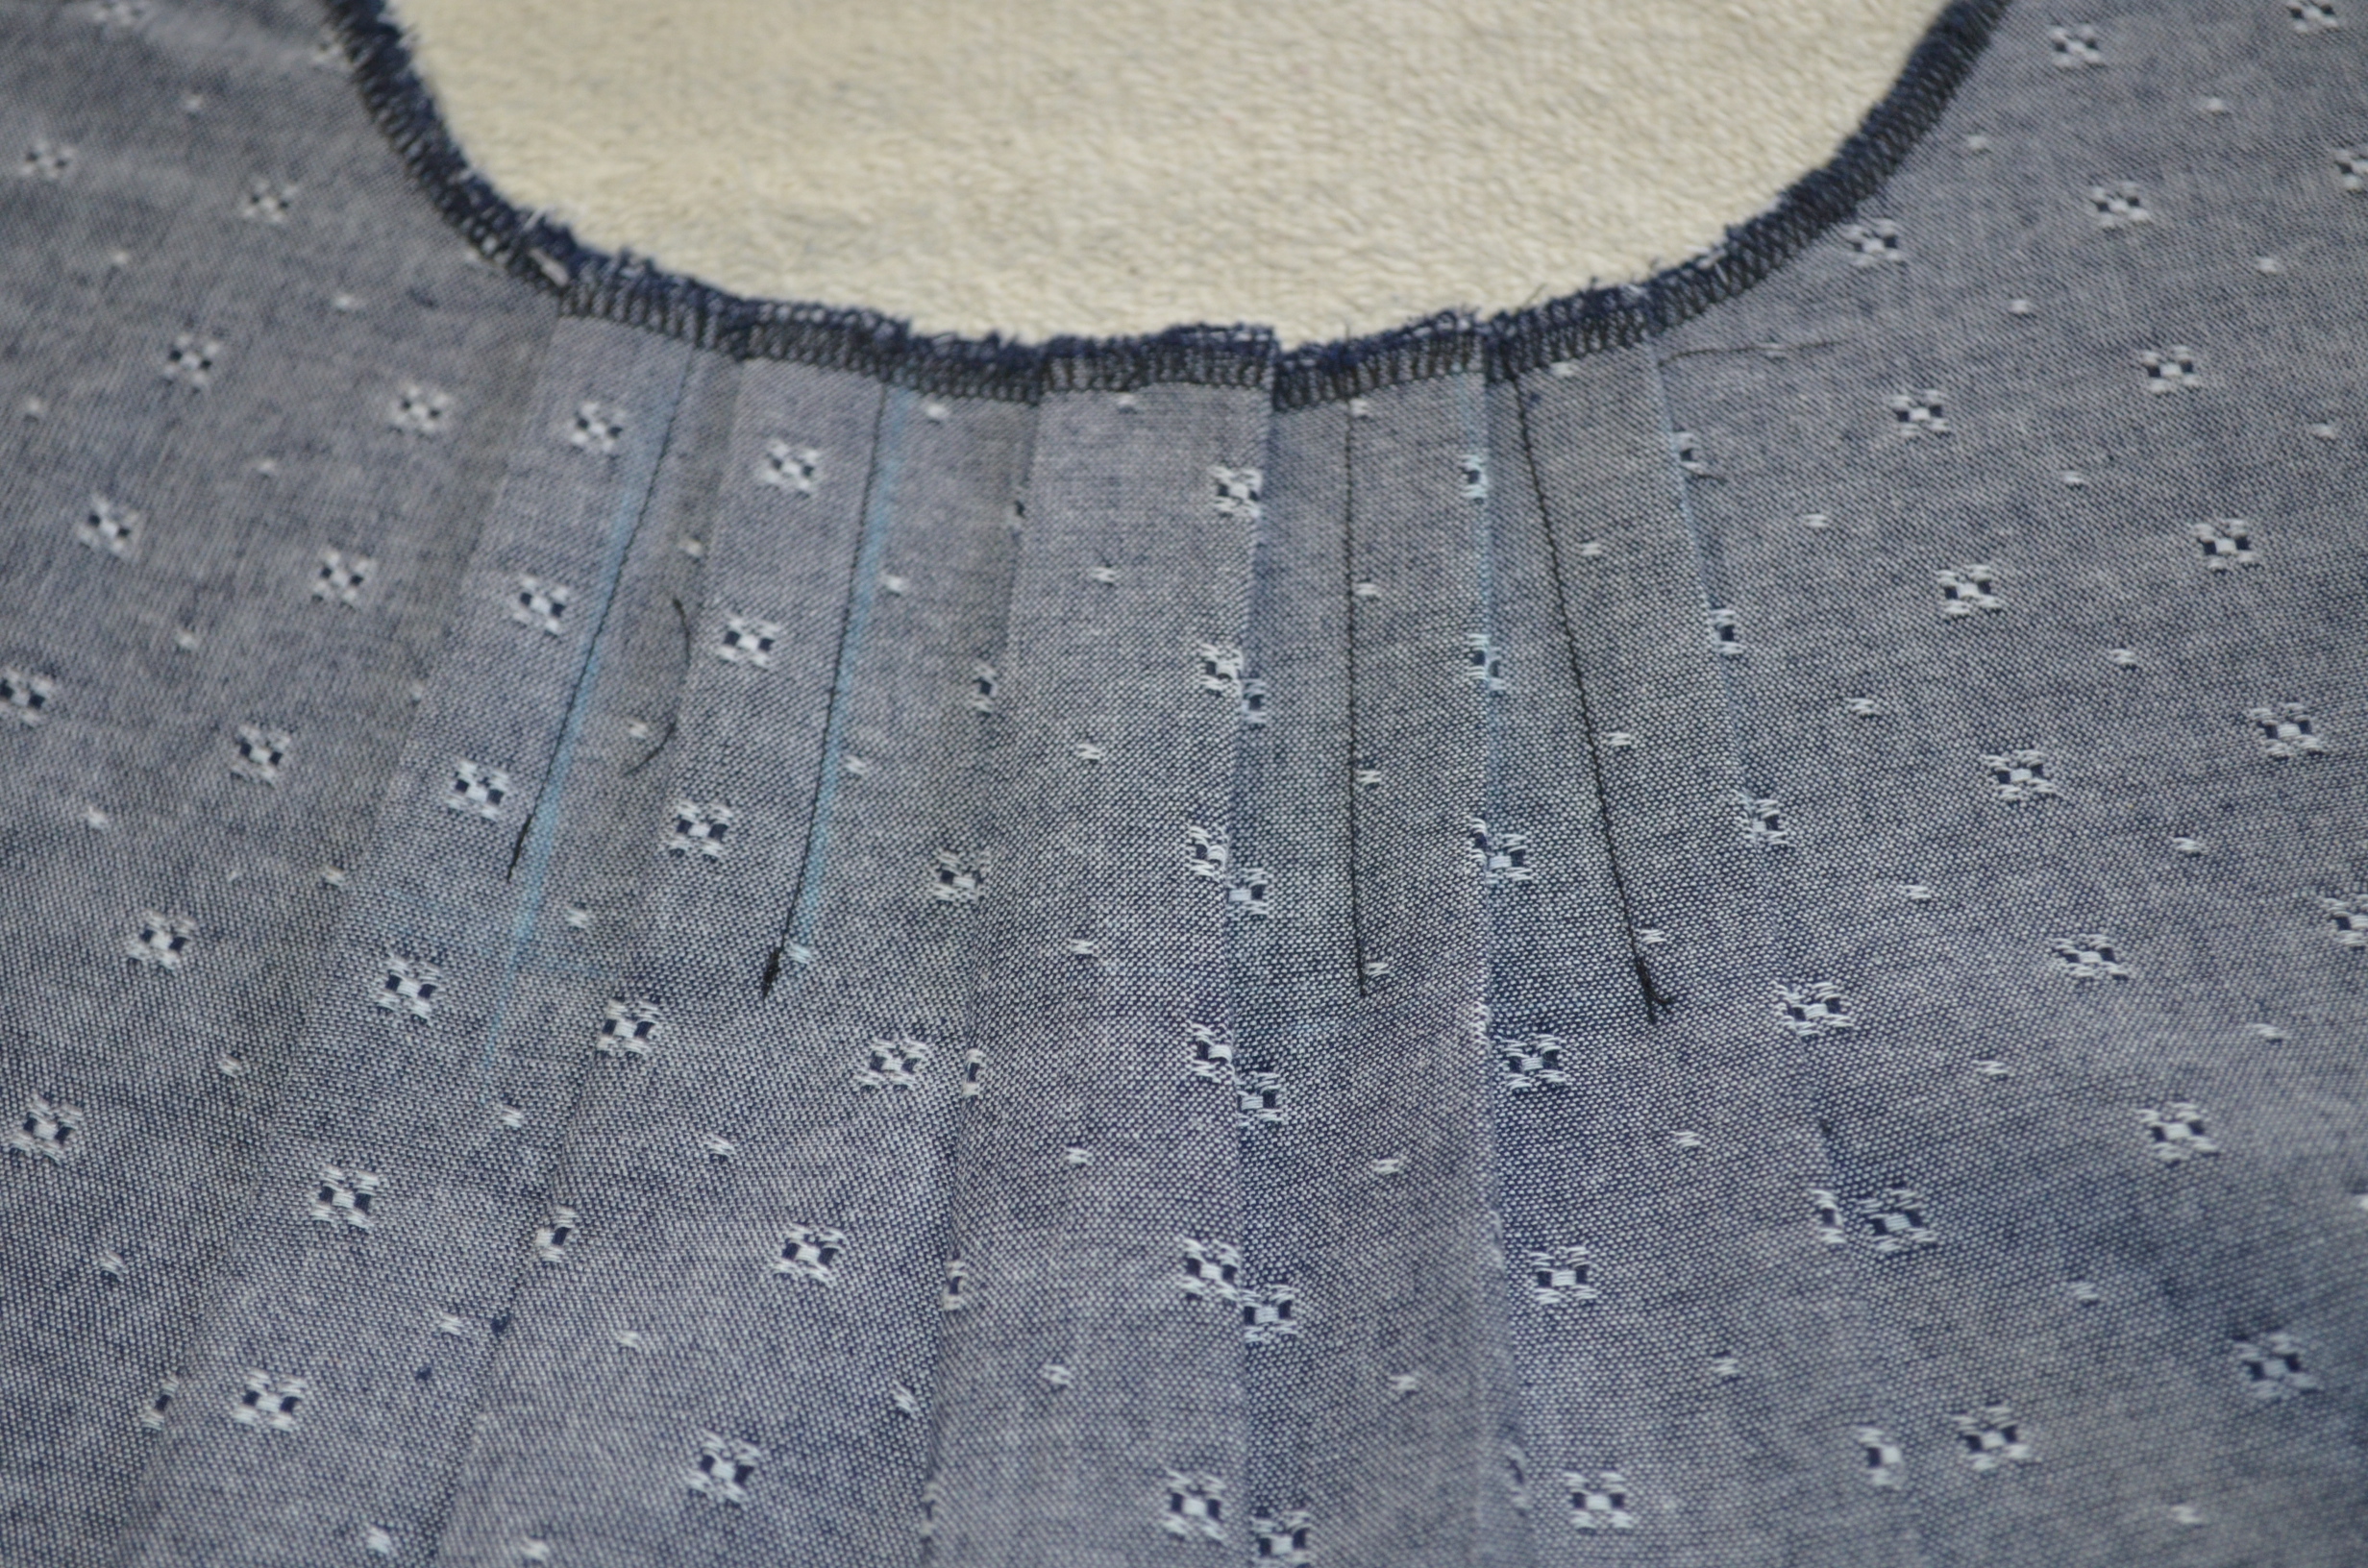
Flip the patchwork and lining to the wrong sides and press along the zipper seam. Topstitch close to the seam.

Step 3: Sew the Other Side of the Zipper
Fold the patchwork panel in half, right sides together, with the zipper sandwiched between the outer panel and the lining.


Align the edges, then pin the lining and patchwork together. Sew along the pinned edge as you did previously. Finally, topstitch close to the seam for a neat finish.


Step 4: Sew the Side Seams
Open the zipper halfway to allow turning later. Fold the pouch in half.
Insert one of the zipper tabs between the outer layer and the middle, facing the inside of the pouch on each side of the pouch.

Pin the sides of the pouch.

Sew along both sides of the pouch at ½” seam allowance, making sure to sew the outer fabric and the lining fabric together at the same time.

Step 5: Box the Corners
Turn the bag so the lining of the boxy bag is in the outside.

To create the boxy shape, pinch the corners of the pouch. Align the side seams with the bottom seam to form a triangle at each corner and pin.

Sew at ½” seam allowance to create a boxed corner. Repeat for all four corners.

Step 6: Bind the Unfinished Box Corners Edges
Place the binding along the raw edges of the box corner seams inside the pouch, encasing the edges. Pin in place.

Sew the binding by stitching close to the folded edge, securing the raw seams inside the pouch.


Step 7: Finish and Turn Right-Side Out
Turn the pouch right-side out through the zipper opening. Push out the corners to create a crisp, boxy shape, and your Maravilla Boxy Pouch is finished.